Adding a Message Box to the Disassembled EXE at Startup
There's been a need to modify a PE file recently, let's start with the EXE file. I've only been learning for an hour now, but I've had some exposure to assembly before. This article is a demo of the process. The main idea is to disassemble it to get the assembly code, then manually modify its logic to first jump to the dialog box area and then jump back to execute the original code. The relevant tools include ollydbg, the Minesweeper software that needs to be modified, and referenced articles, which will be provided at the end of this article.
Description
First, prepare the tools needed, which are OD (ollydbg) and the Minesweeper software.

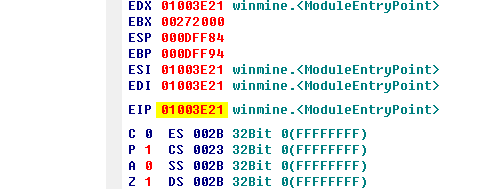
Using OD to import Minesweeper, automatically locates the entry point.
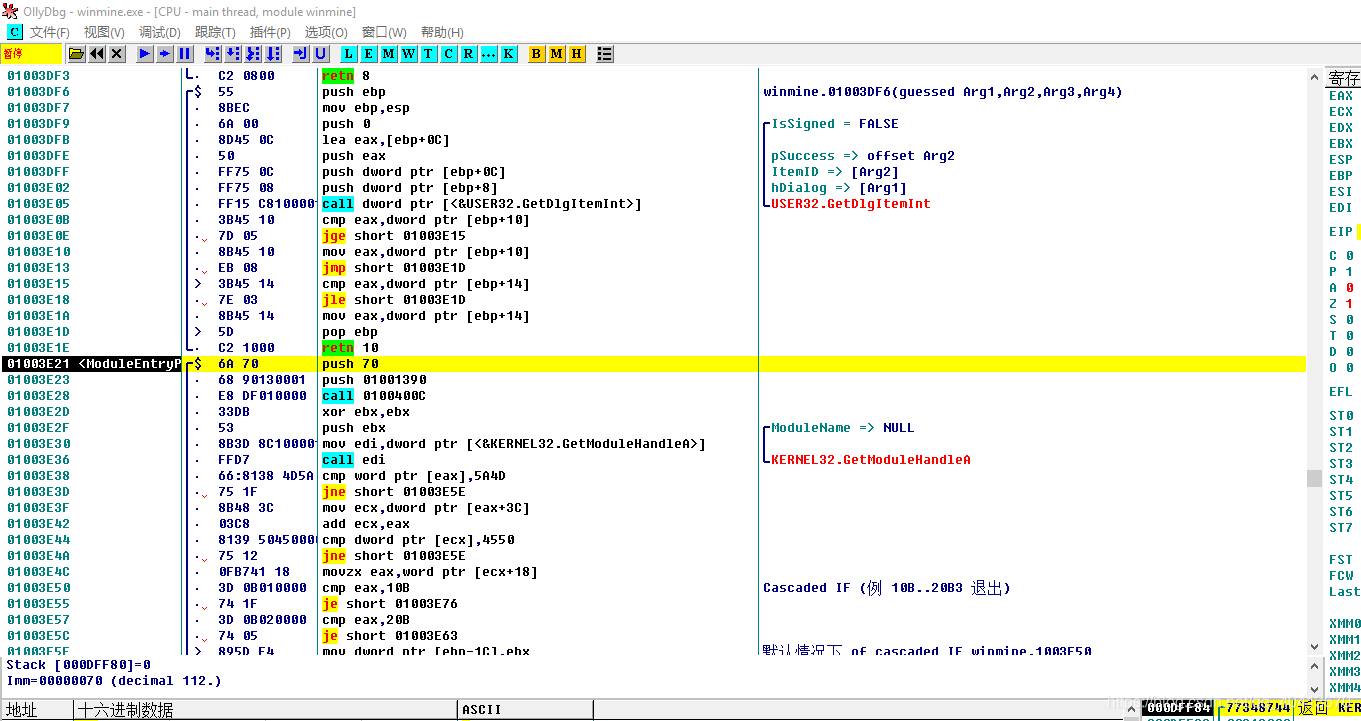
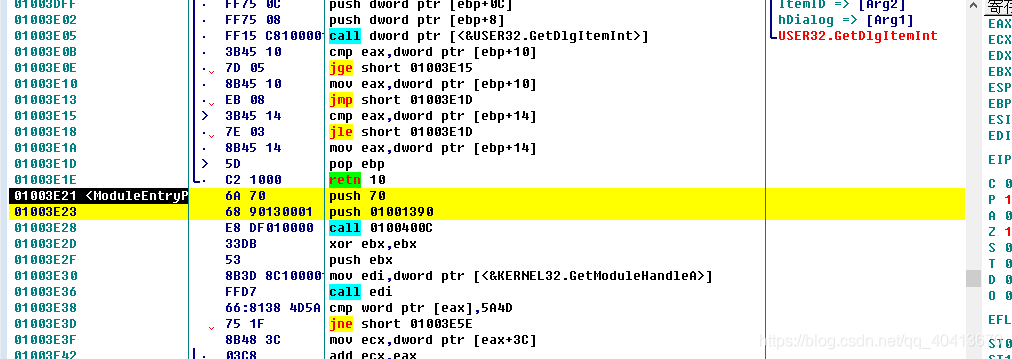
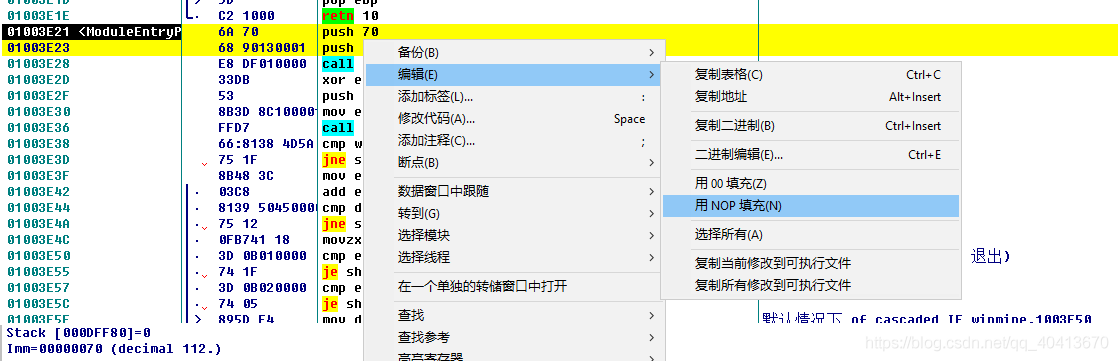
Then select the first 2 lines and copy them with Ctrl + C. This is mainly to create enough space for us to make the instruction modifications.

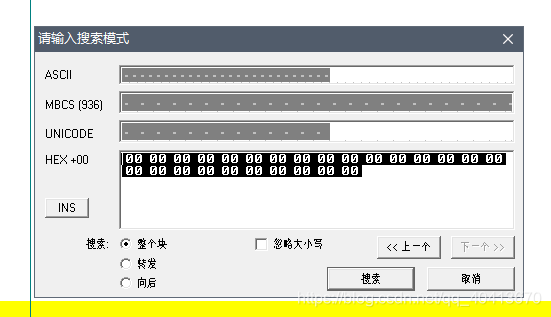
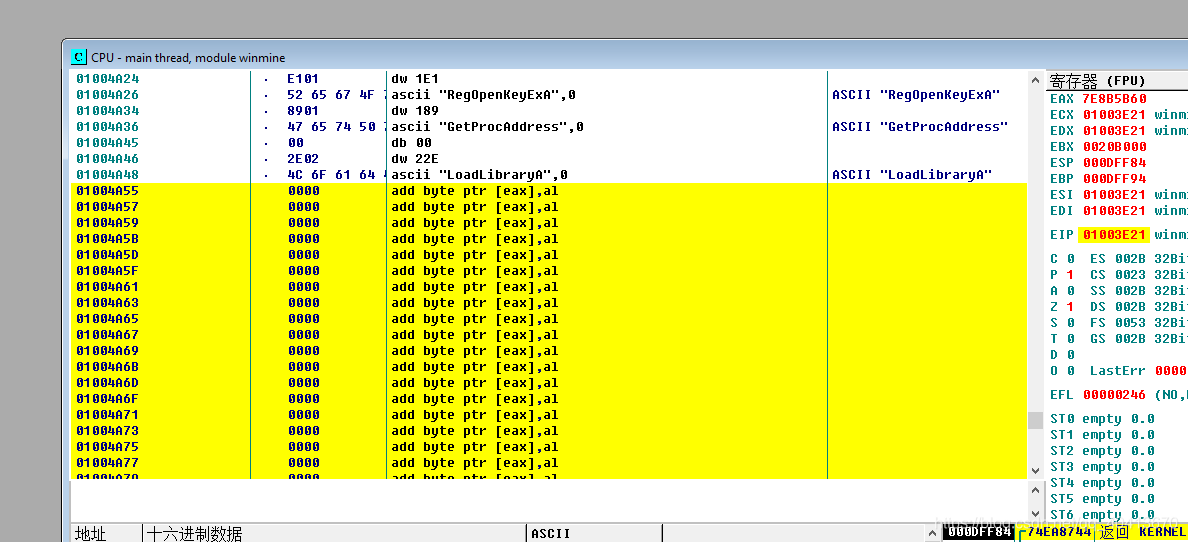
Return to OD, we need to find the HEX data where it is 00, which is usually the empty space at the end. Note that we cannot directly insert some instructions, we can only skip to execute the code we want and then jump back to execute the original code. We can use right-click - search - binary string, enter a few 0 and click search. Since there is a bunch of 00 data segments in Minesweeper, we can use Ctrl + L to keep searching for the next.
After locating the 00 position at the end, select a few lines, and then right-click - edit - fill with 00.
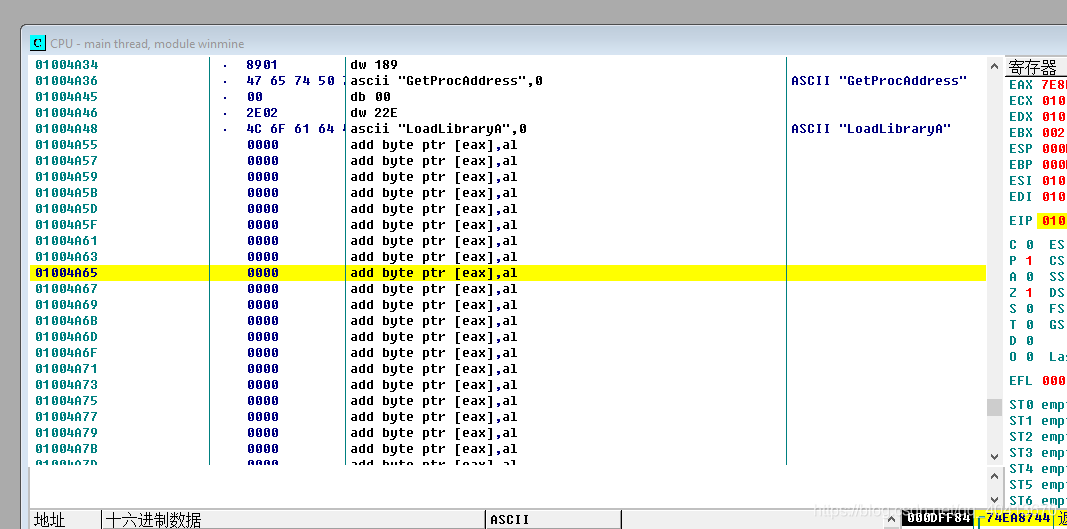
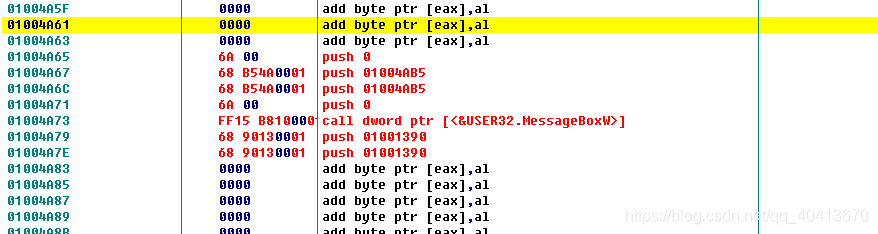
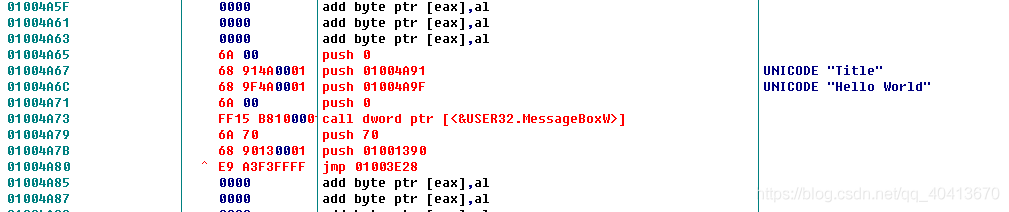
Now we can add a few empty lines. I started modifying at address 01004A65, and can directly use Ctrl + G to locate this position.
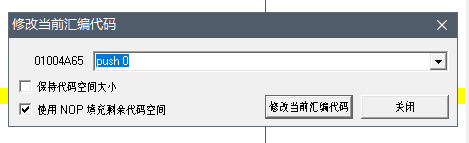
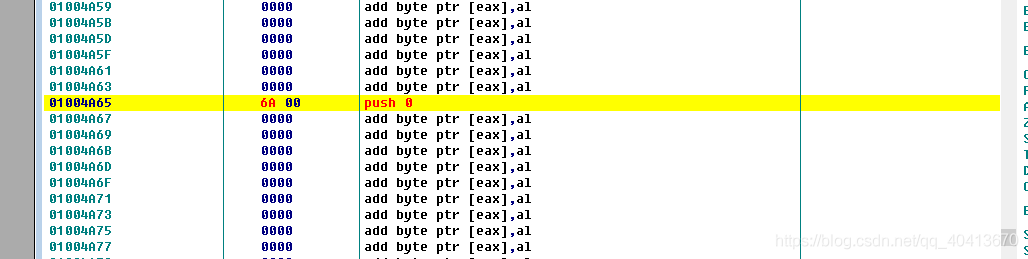
After selecting this position, start by pressing the space bar and trying to modify the assembly code by entering PUSH 0.
Then we need to occupy another position and write the following code. The 01004AB5 is just a random value to occupy a position.

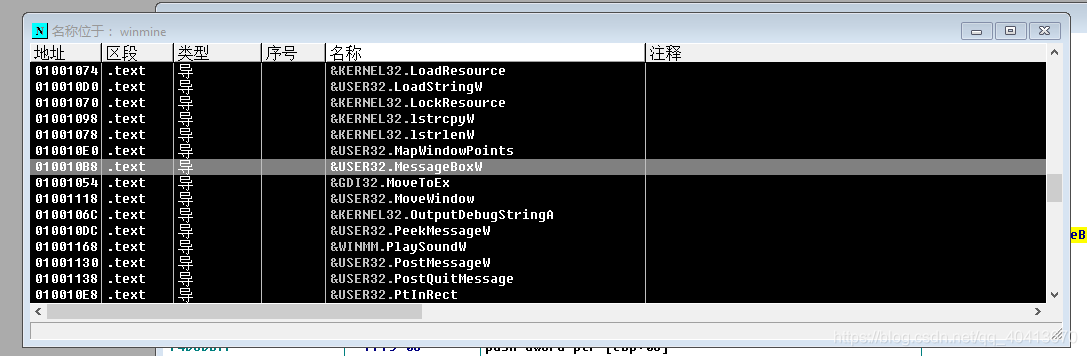
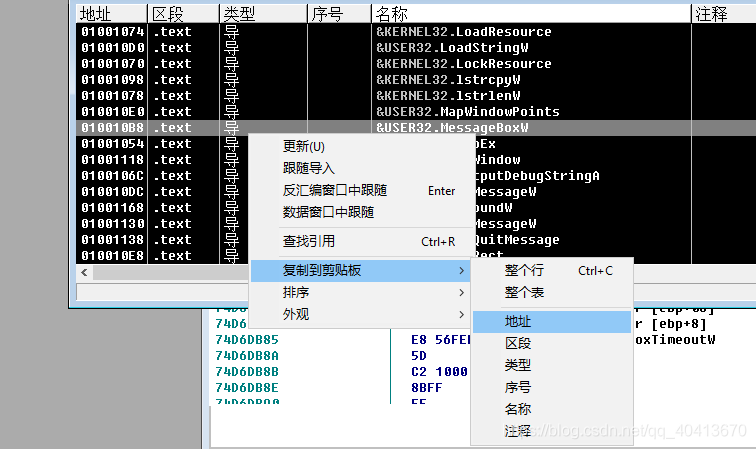
Next, we need to find the address of the message box. Right-click - find - name, in the pop-up window click the name to sort it, then find &USER32.MessageBoxW, right-click - copy to clipboard - address.
Then, locate the position 01004A73 and enter CALL DWORD PTR DS:[010010B8], where the address in DS:[010010B8] is the address copied earlier.


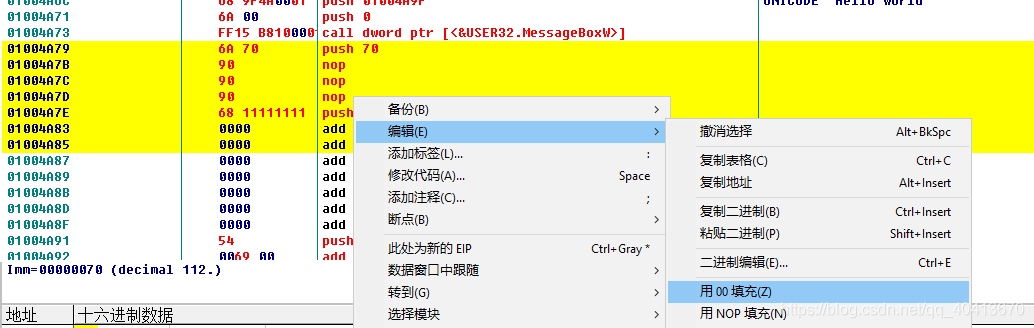
So the part that pops up the message box is complete. Four push and one call is for popping the message box. The two push in the middle are for the title and content. Now we add two more lines of code for placeholder purposes, mainly for the subsequent startup logic, i.e., for the two lines we copied at the beginning for startup positioning.
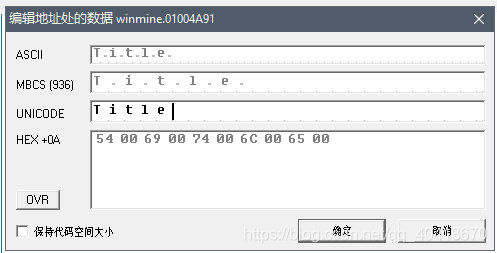
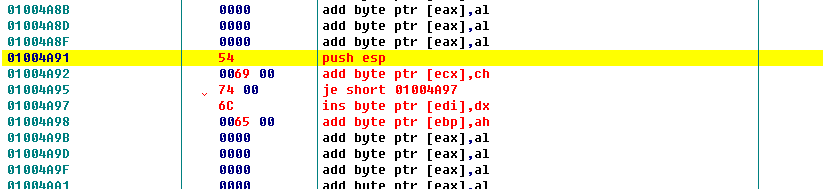
Then we leave a few lines blank and right-click at address 01004A91 - edit - binary edit.
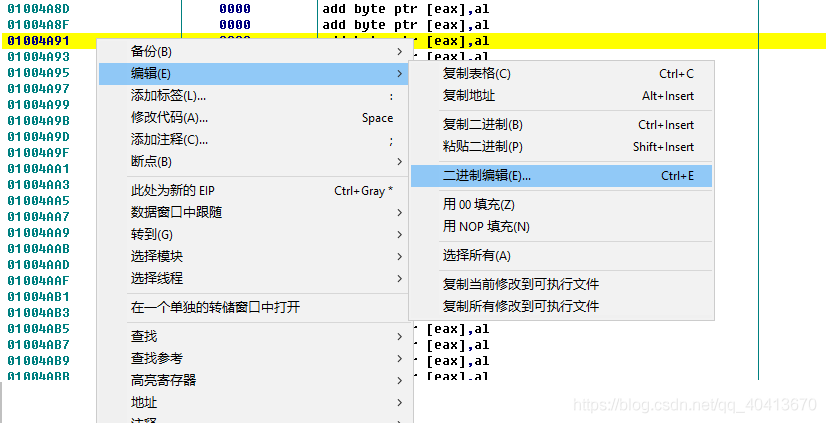
In the UNICODE area, enter Title, then save.
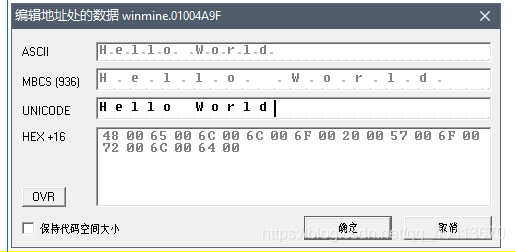
Similarly, leave a few lines open and add a Hello World at 01004AE3.
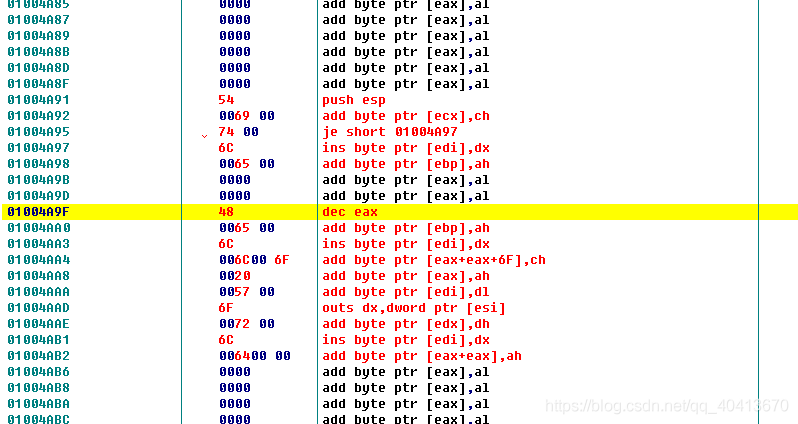
Then go back to 01004A67 and start adding the assembly code by double-clicking or pressing the space bar. Modify the position 01004A67 to PUSH 01004A91, then proceed to modify the next position, 01004A6C, to PUSH 01004A9F, which places the two strings we added earlier.

Next, we modify the startup logic. Click on the right side of EIP to locate the entry position.
At the beginning, we copied the first 2 lines of code for the positioning. Now we select the first 2 lines and right-click - edit - fill with NOP.
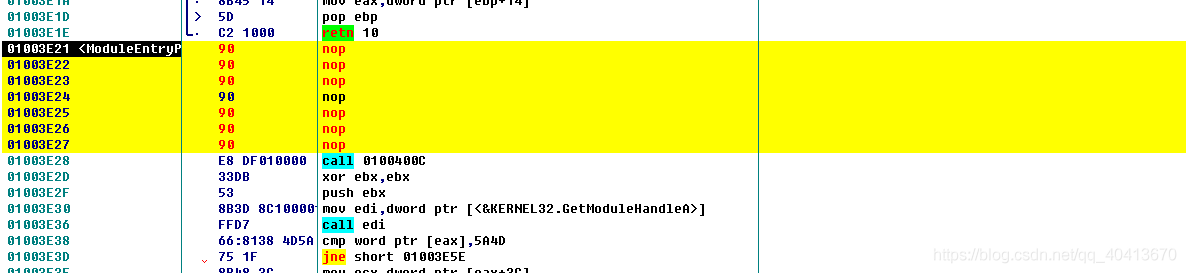
Then in the first position, i.e. 01004A65, fill in JMP 01004A65, which is the first position of the edited 00 segment we just found.

Then go back to 01004A65, and from 01004A79, sequentially fill in the original 2 lines of assembly code, which is the code we copied to Notepad initially. If there are multiple nop occurrences, we need to right-click, edit, fill with 00 for the ones we want to edit, then continue filling in. Note that at the end, we still have a jmp operation to jump back, which is the address of the first statement after the nop in the previous image, i.e. 01003E28.
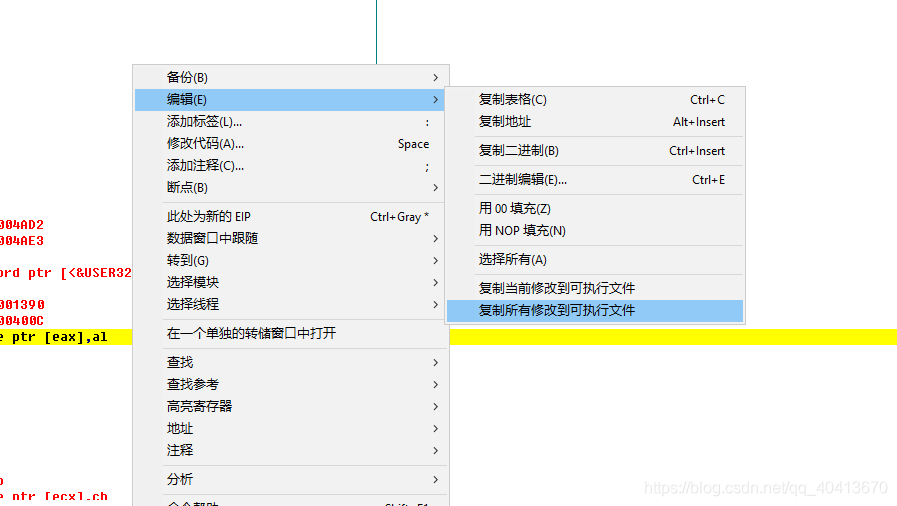
At this point, it's pretty much done. The idea is to execute our own code from the entry point, and then jump back to continue executing the original code. Afterwards, right-click, edit, and copy all the modifications to the executable file.
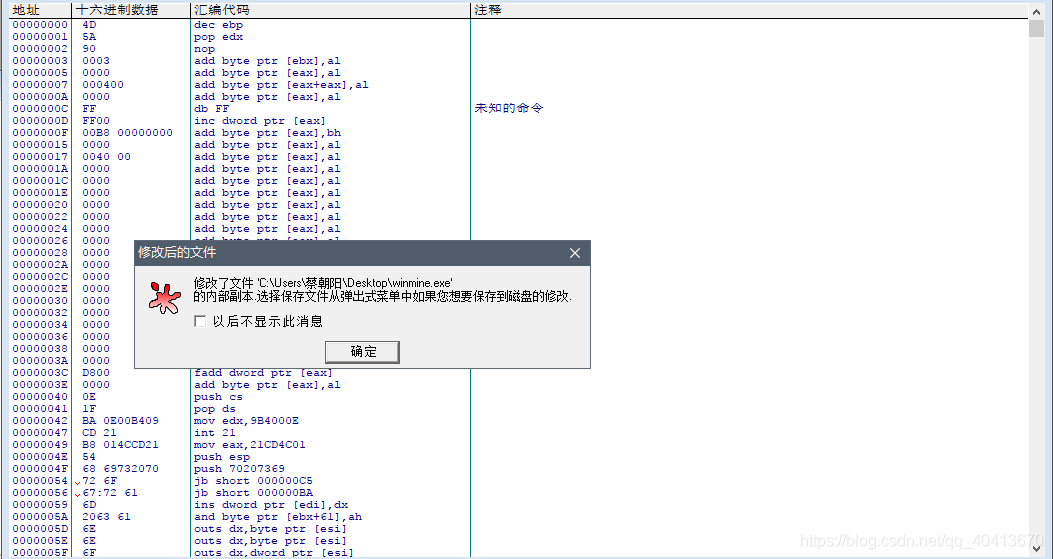
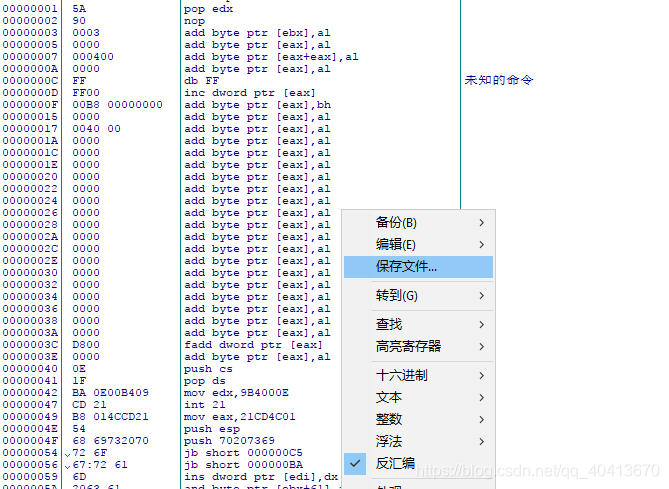
Right-click, save the file, select "Yes" to save. Note that here you still need to save it as a different file name to distinguish it from the original.
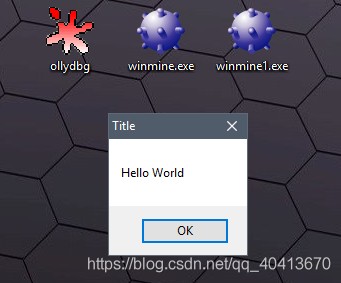
After saving, run the file to see the effect.