Adding a Startup Message Box to the Disassembled EXE Using IDA
The previous article introduced adding a startup message box to a disassembled EXE using OD. This article aims to achieve the same effect. The main approach is to disassemble the code, then manually modify its logic to first jump to the dialog box area and then return to execute the original code. The related tools include IDA and the default Minesweeper software in the xp system. Initially, I thought I could do it with OD, but a classmate told me that IDA has more functionality. After researching, I found that it is indeed more convenient for me to meet my requirements. However, there are relatively few tutorials about IDA available online. It took me a while to complete the modification, and I felt it was necessary to document the related operations with IDA.
Description
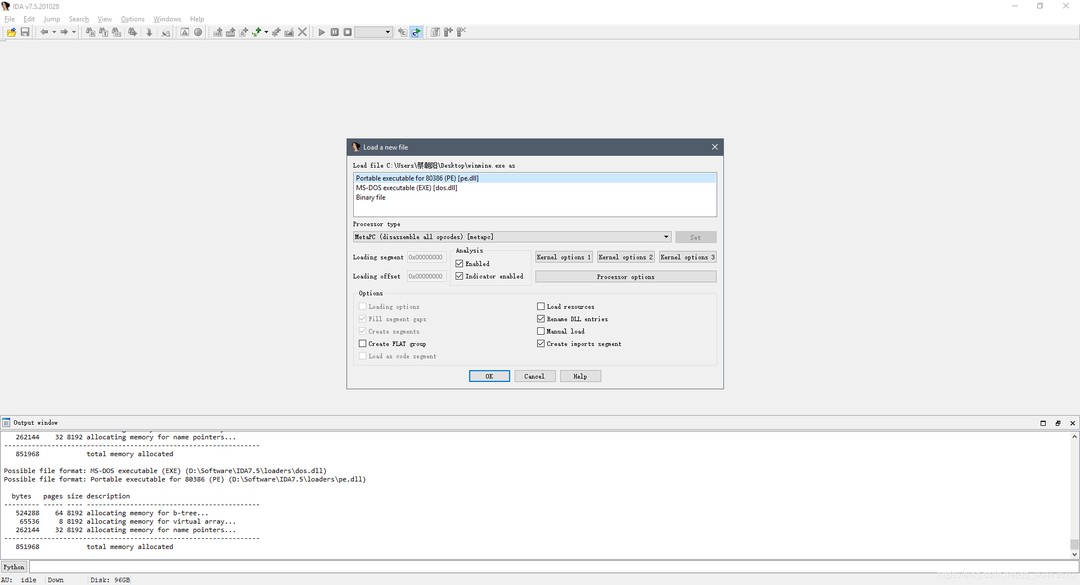
First, prepare the necessary software, namely IDA and the Minesweeper software. I particularly recommend using IDA Pro 7.5 version, especially for details such as backward and forward navigation using Ctrl + Z and Ctrl + Y, which are very comfortable to use. Of course, other versions have the same main functionalities.
First, open Minesweeper with IDA using the default settings, then proceed to the code's function execution flow.
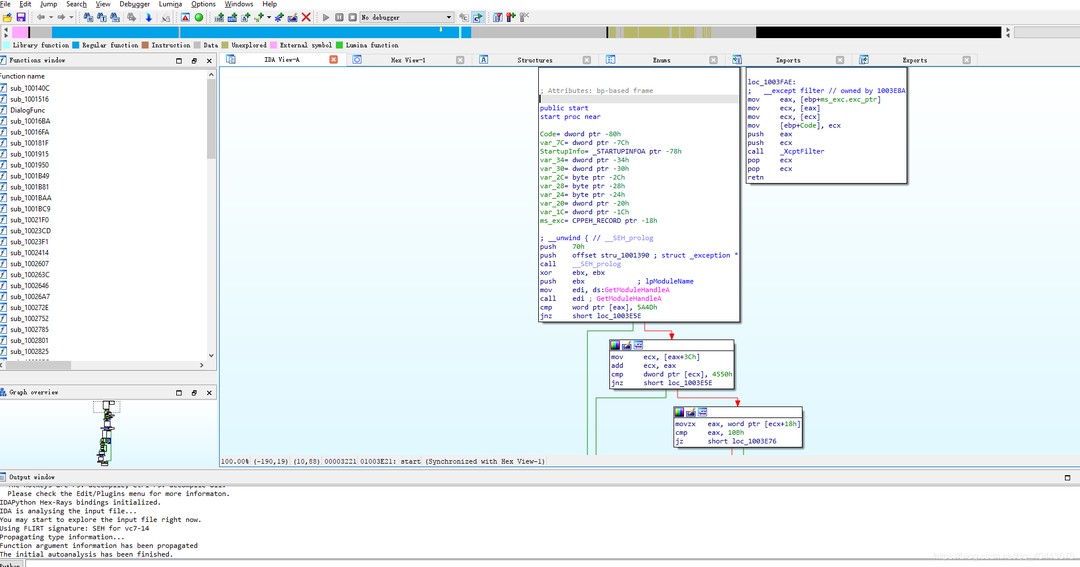
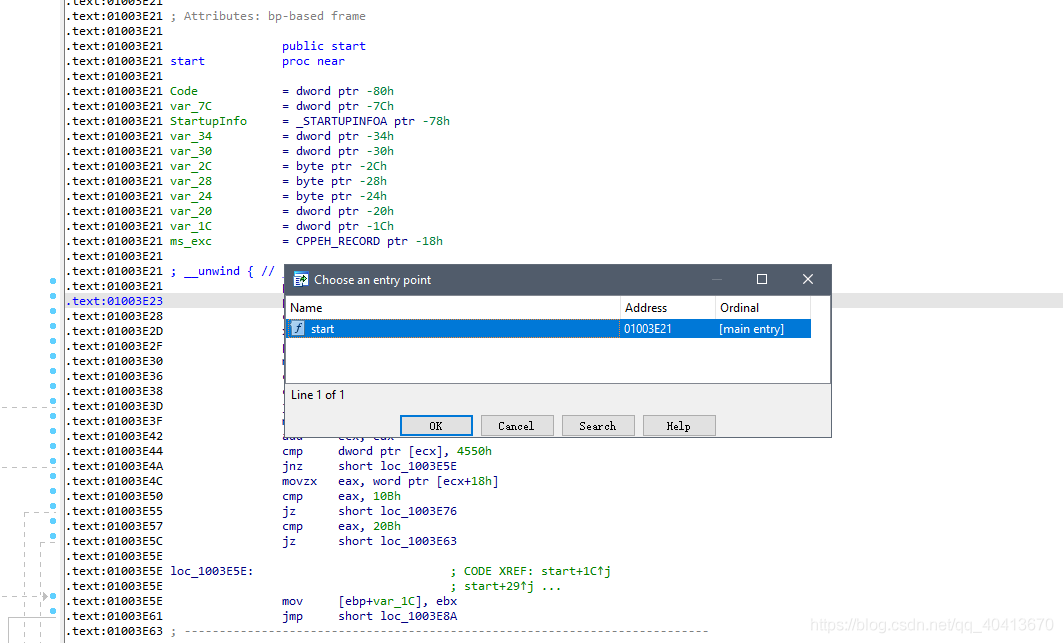
Press the spacebar to switch to the code and press Ctrl + E to enter the entry point.
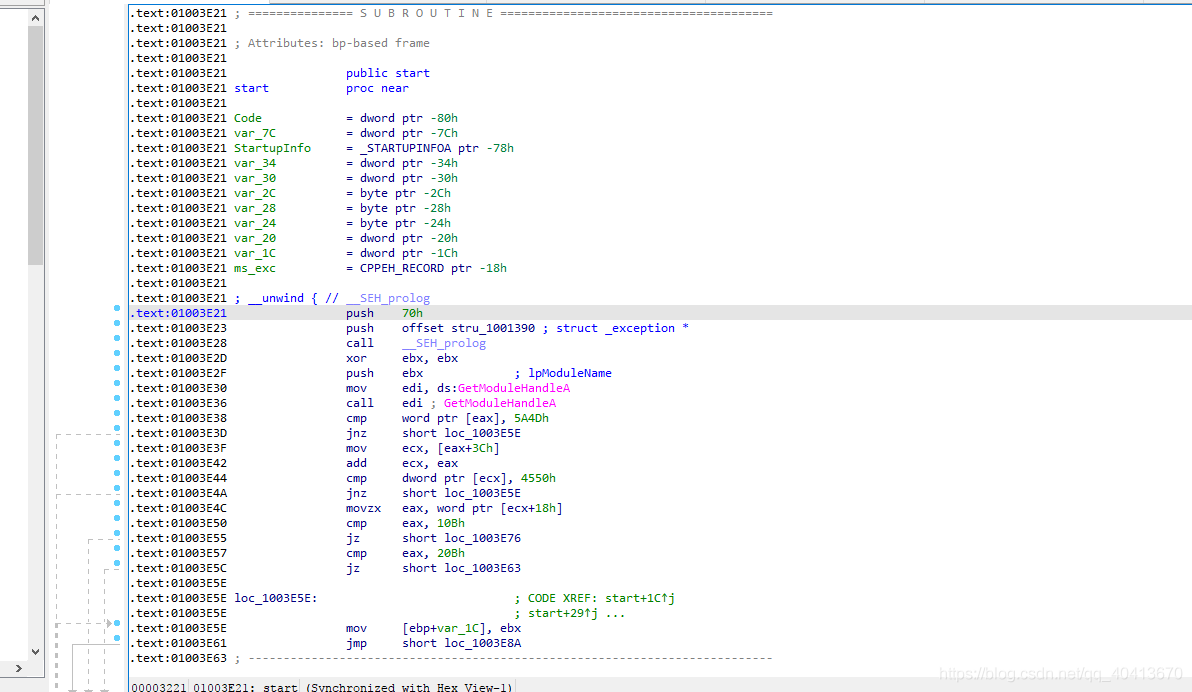
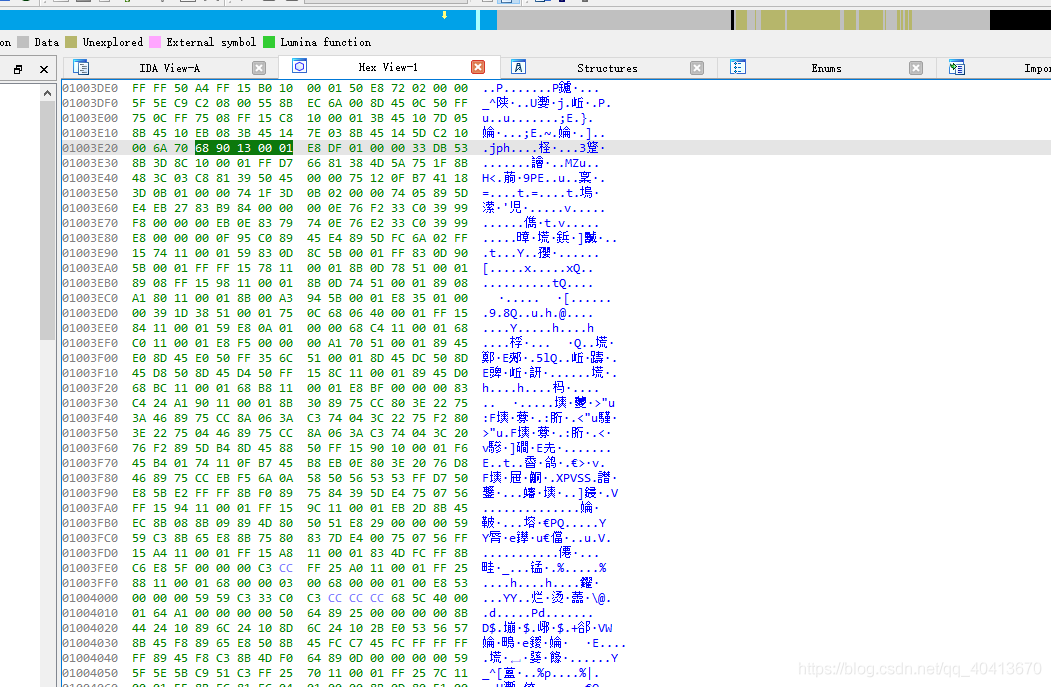
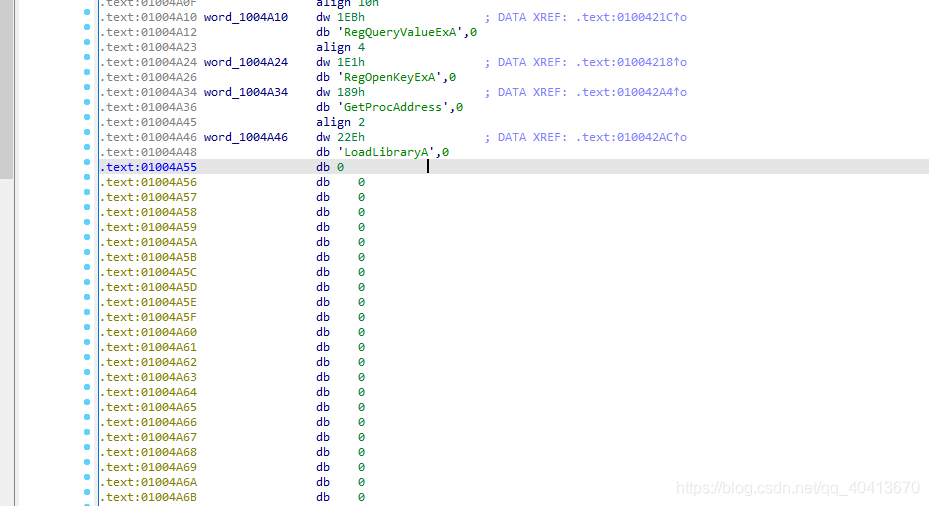
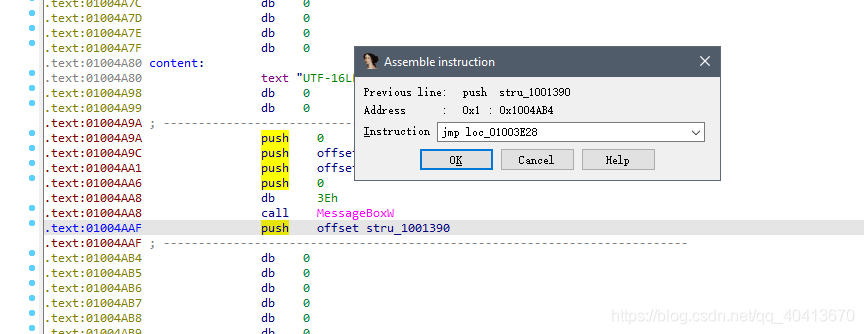
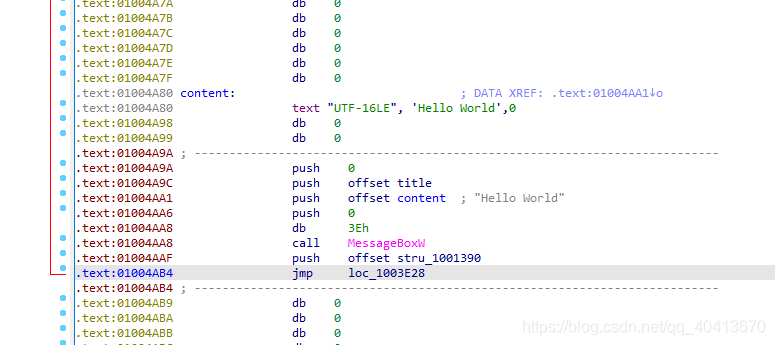
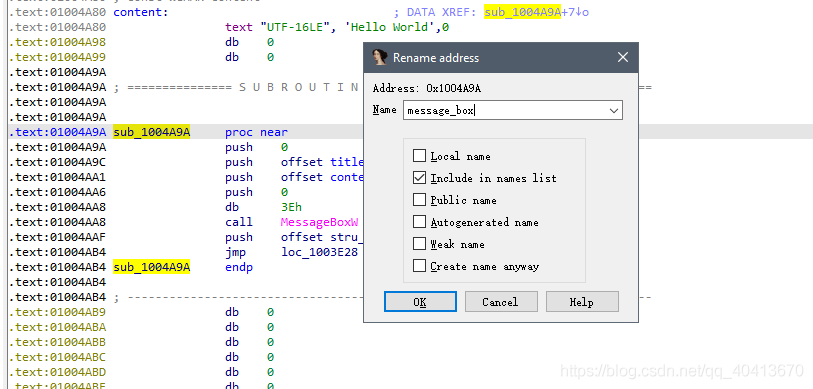
Copy the address 01003E23's push offset stru_1001390 and save it somewhere for later use.
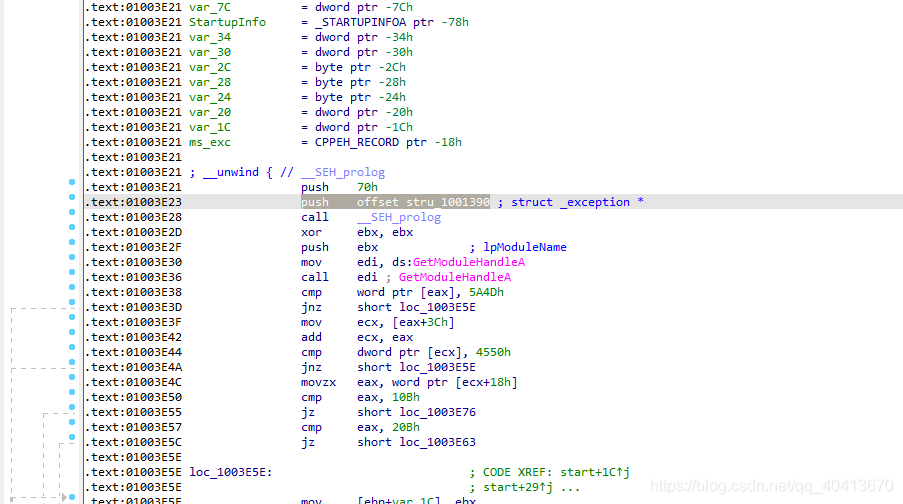
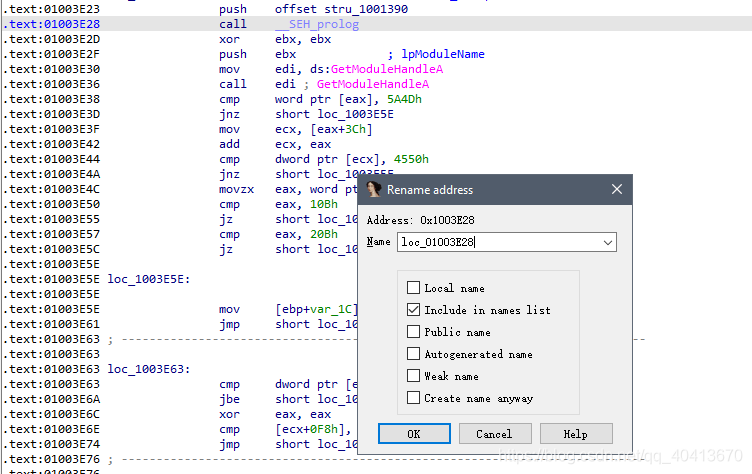
Then move the cursor to 01003E28, the next line, and press the n key to give it a local name loc_01003E28.


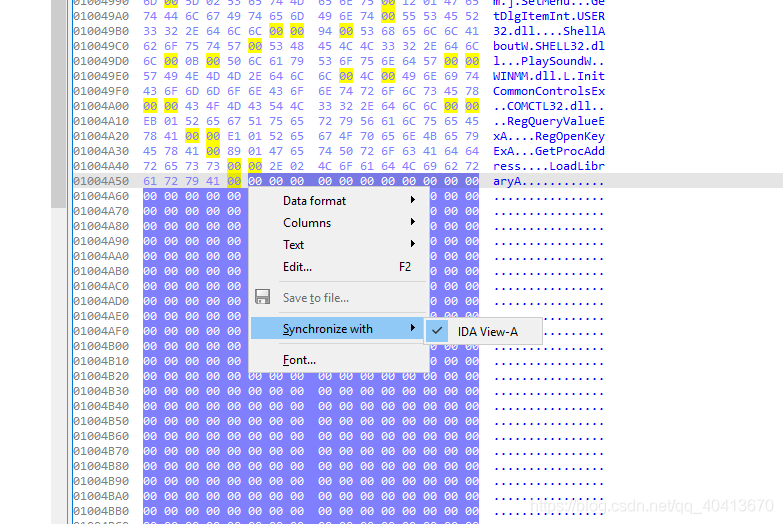
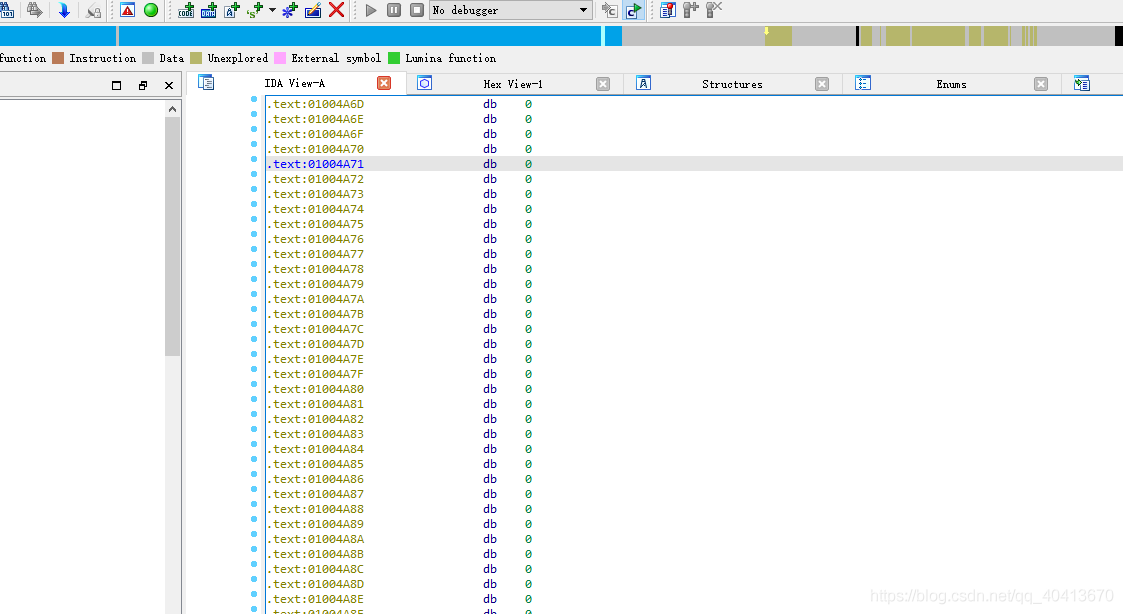
Switch to the Hex View-1 window and scroll down to find a block with 00 values, located in the end part of the file. Right-click to synchronize with IDA - ViewA to be able to navigate to this address area from the opened IDA code window.
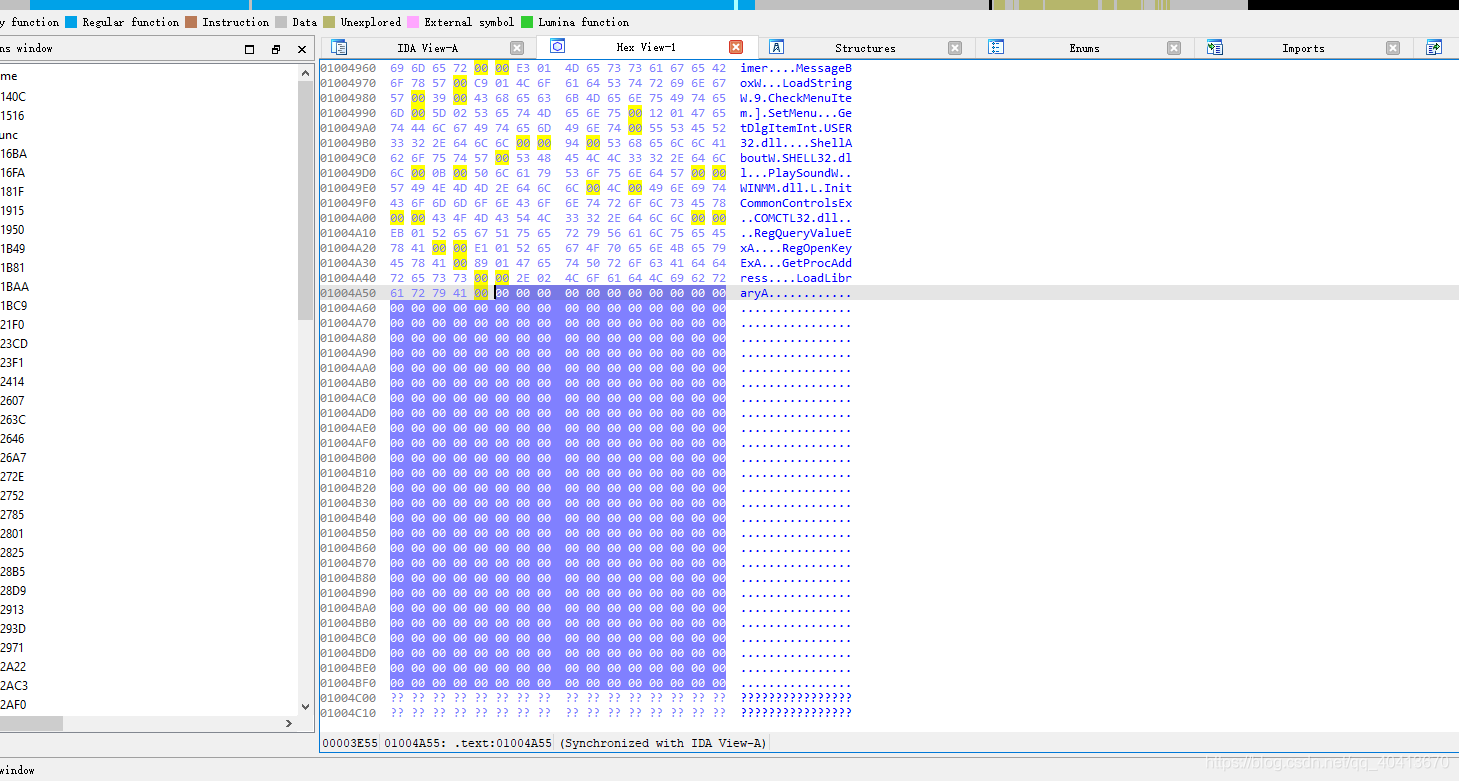
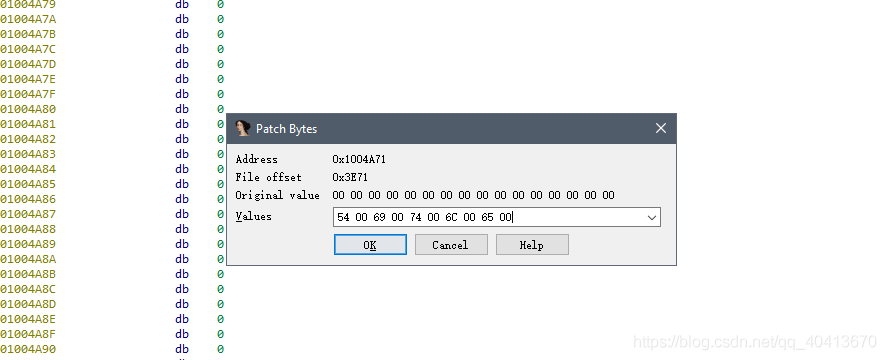
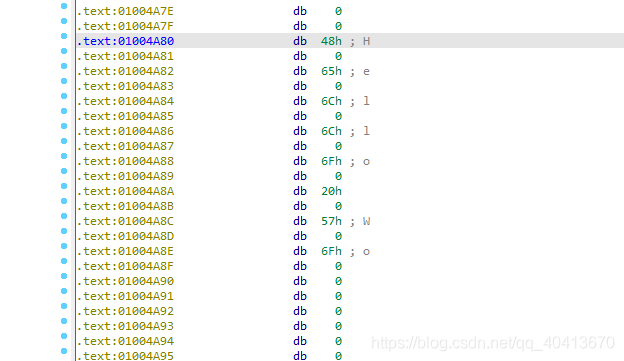
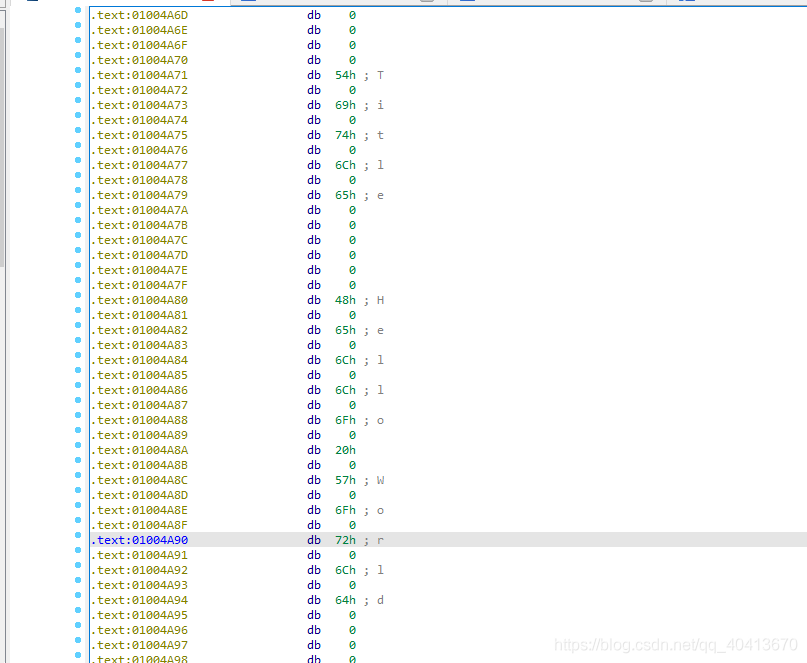
To start writing from 01004A71, press the G key to jump to the 01004A71 position.

The position is folded. Select and press D to expand. Then jump again to the 01004A71 position.
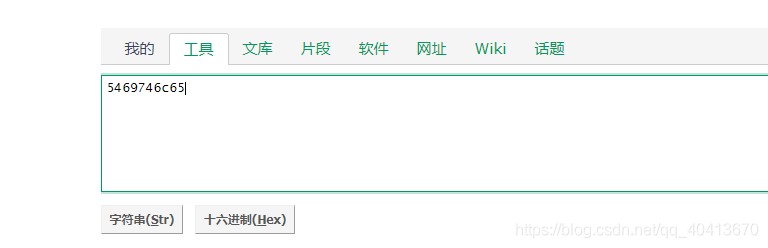
Start writing the string. First, convert the string to HEX by searching for an online HEX converter. Convert Title to obtain 54 69 74 6C 65.
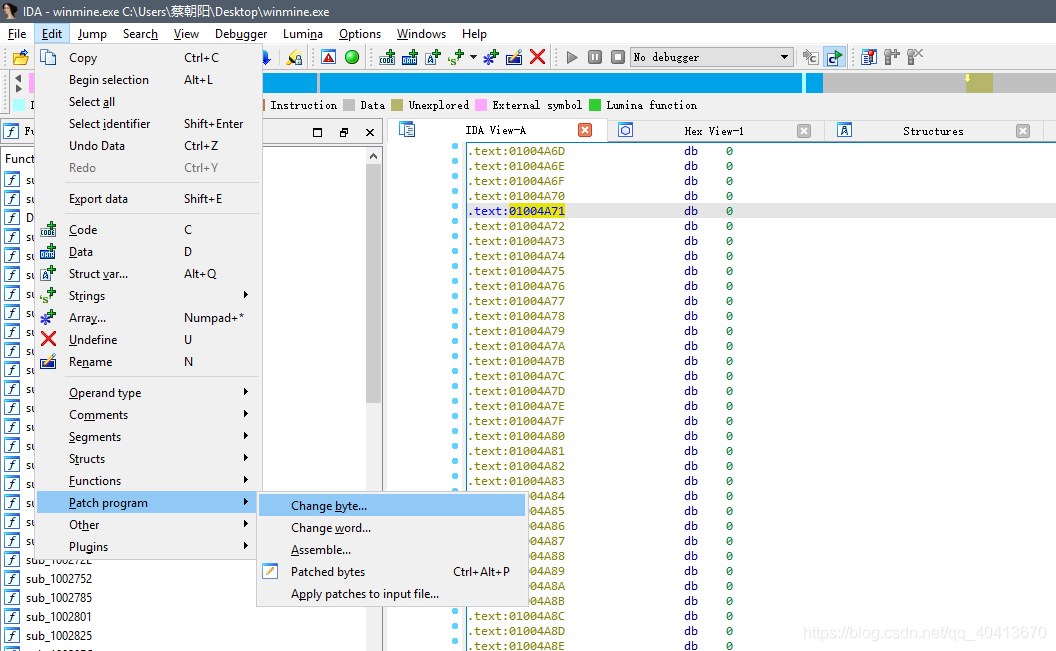
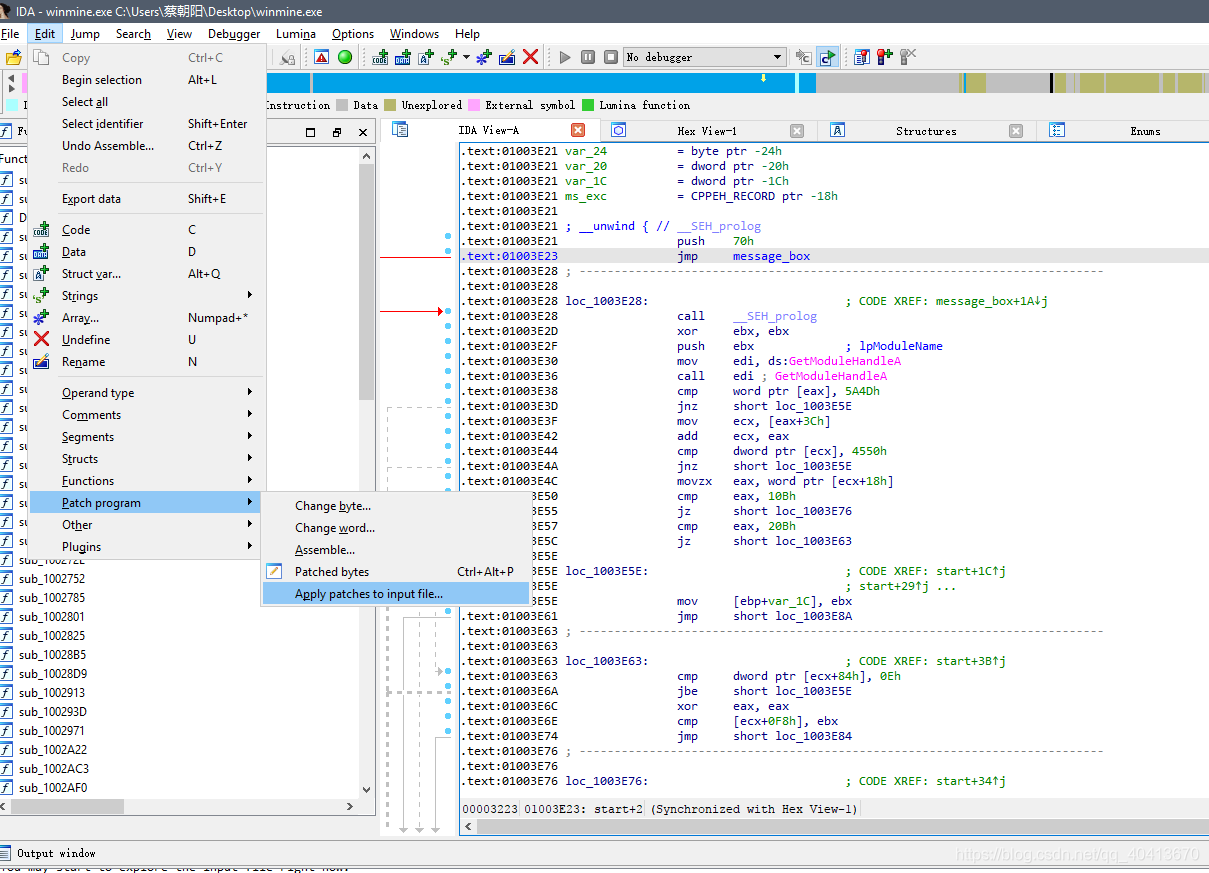
After selecting the line 01004A71, click edit - Patch program - Change byte.
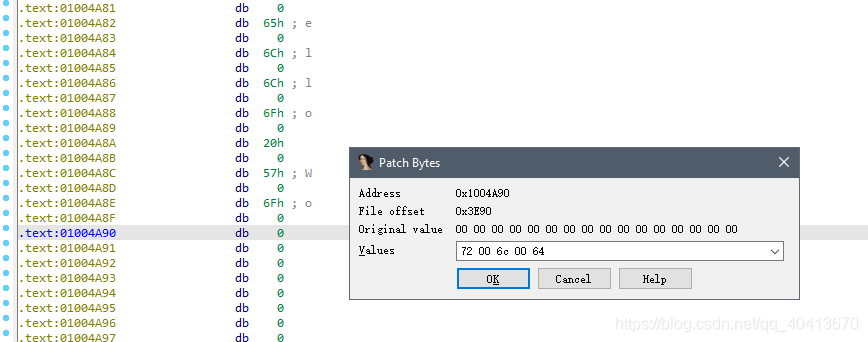
Enter the converted HEX encoding. Note that MessageBoxW uses a two-byte UTF-8 encoding, so the written 54 69 74 6C 65 should be 54 00 69 00 74 00 6C 00 65 00. Of course, direct modification in Hex View1 is also feasible.
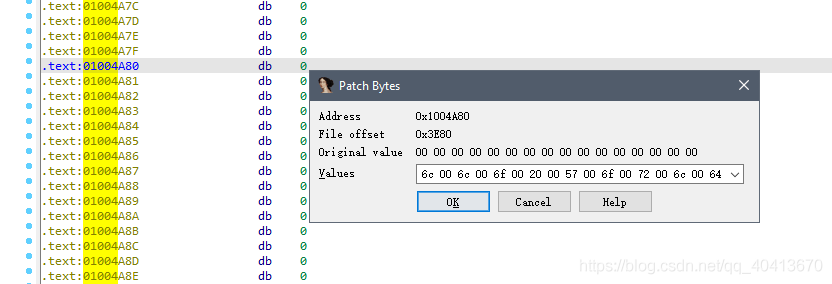
Leave a few more lines and write another one at 01004A80. Convert Hello World to HEX encoding to get 48 65 6C 6C 6F 20 57 6F 72 6C 64.
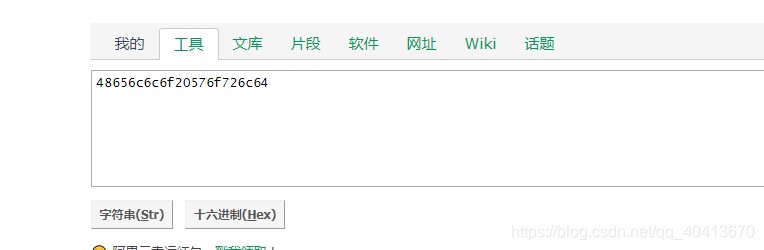
Manually add 00 to obtain 48 00 65 00 6C 00 6C 00 6F 00 20 00 57 00 6F 00 72 00 6C 00 64. If the length exceeds the available space, re-enter the string. However, direct input using Hex View1 is also possible.
Translated content:
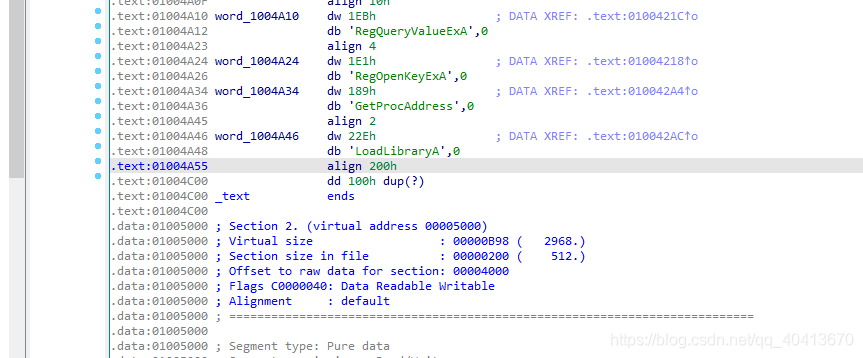
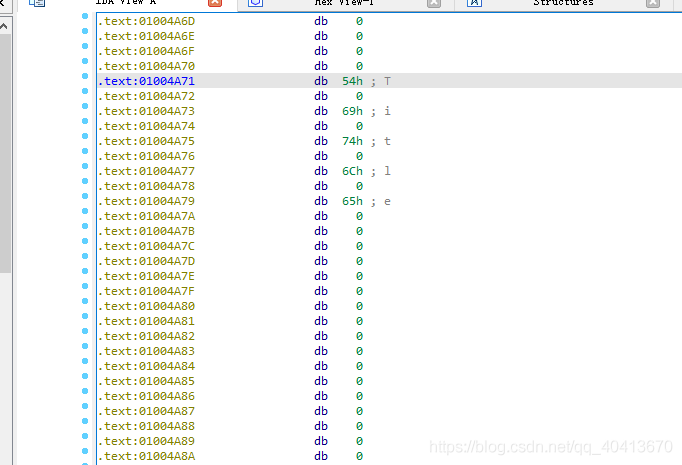
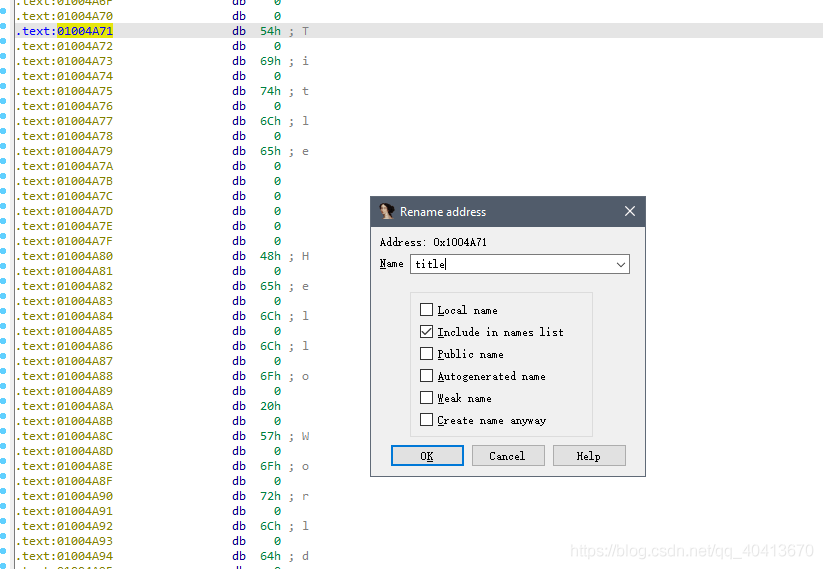
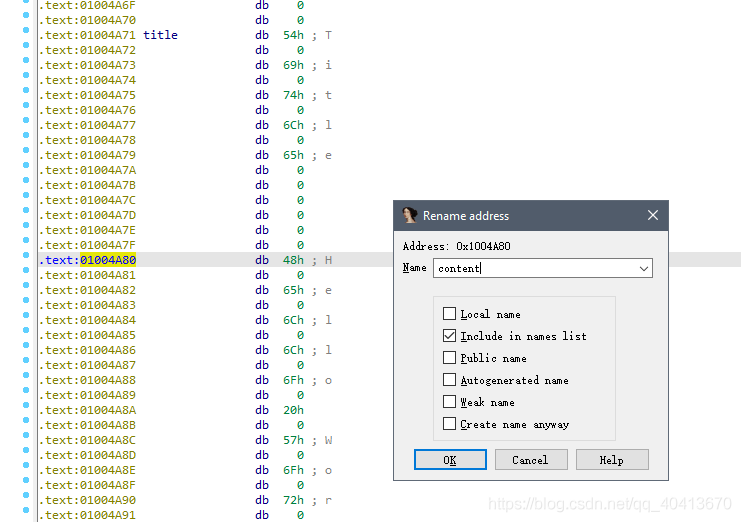
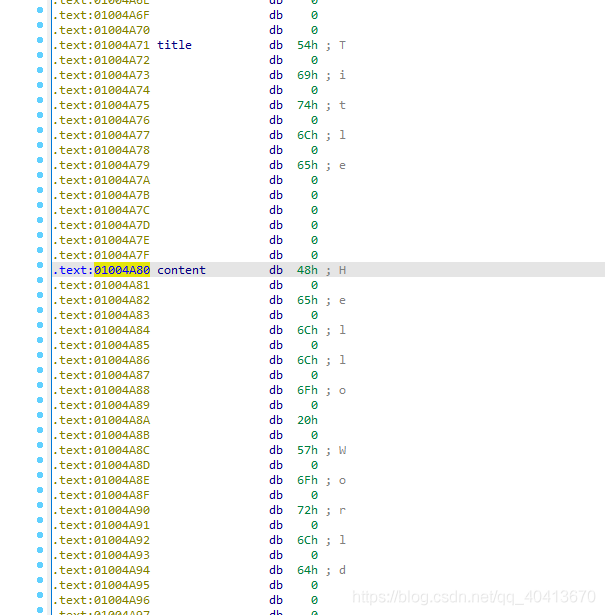
At this point, we need to name this string. Position the cursor at the 01004A71 and press the N key to give it a name. Similarly, position the cursor at 01004A80 and press the N key to name it. I named them title and content respectively.
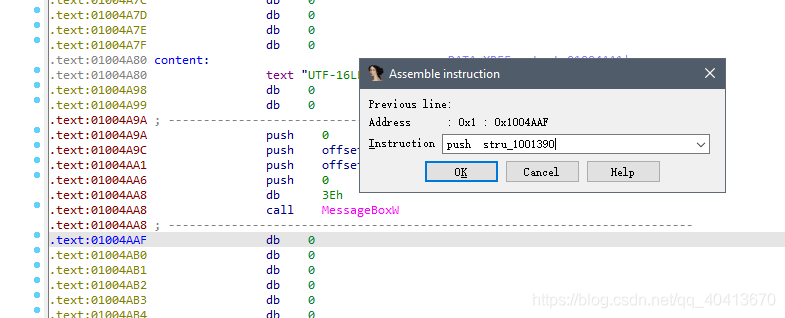
Then leave a few blank lines. Position the mouse at 01004A9A, then click edit - Patch program - Assemble to enter commands. Enter the following commands in sequence:
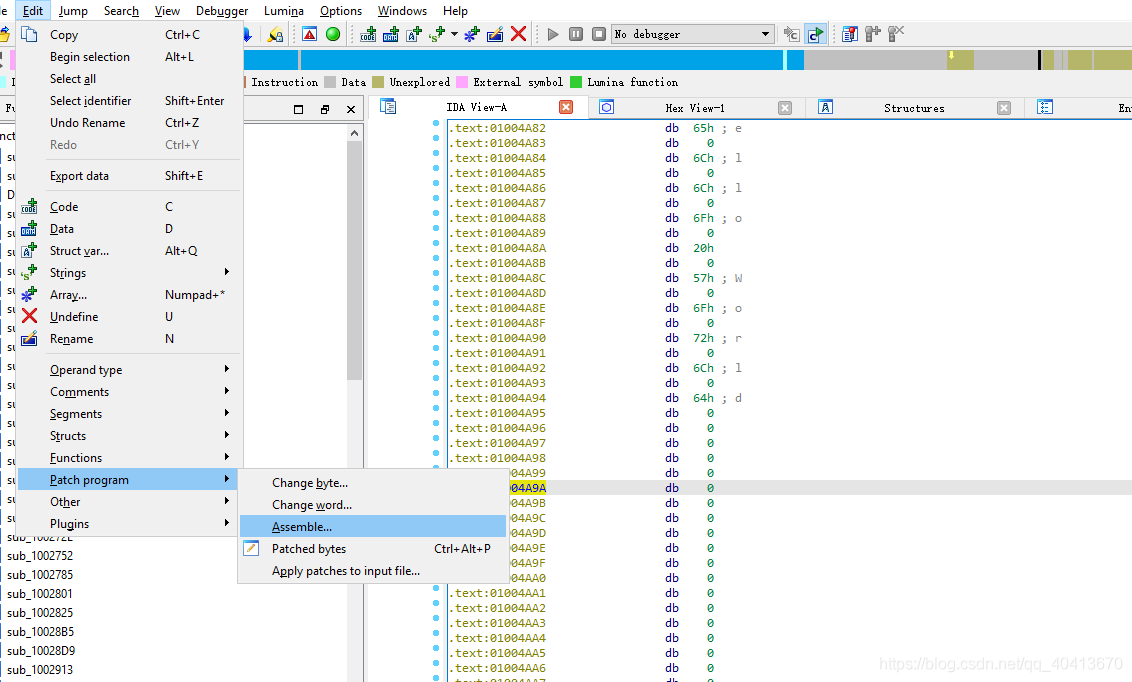
Remember the push offset stru_1001390 address we copied at the beginning? Here we copy the code push stru_1001390, without offset. We continue to append this line, and in addition to the initial local name loc_01003E28, we need to append jmp loc_01003E28.
Now, select this position and press P to create the function.
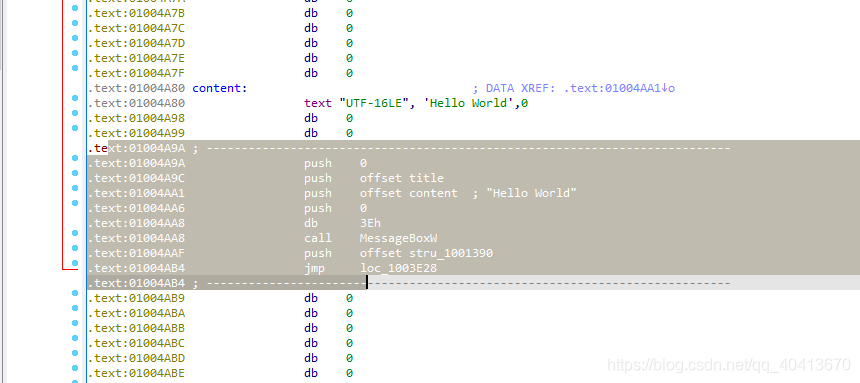
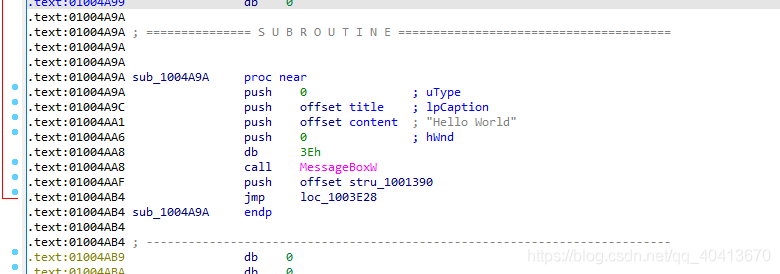
Select sub_1004A9A, click N to give this function a new name, message_box.
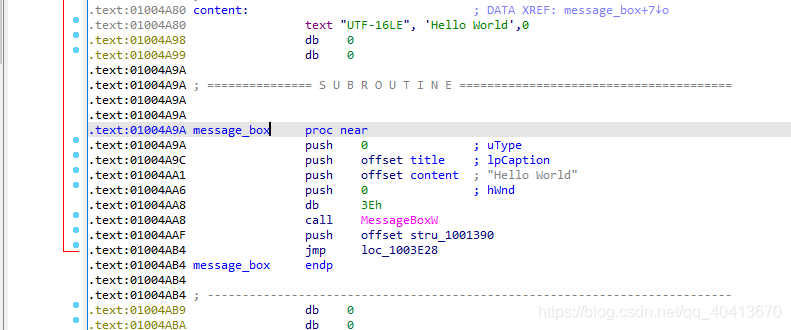
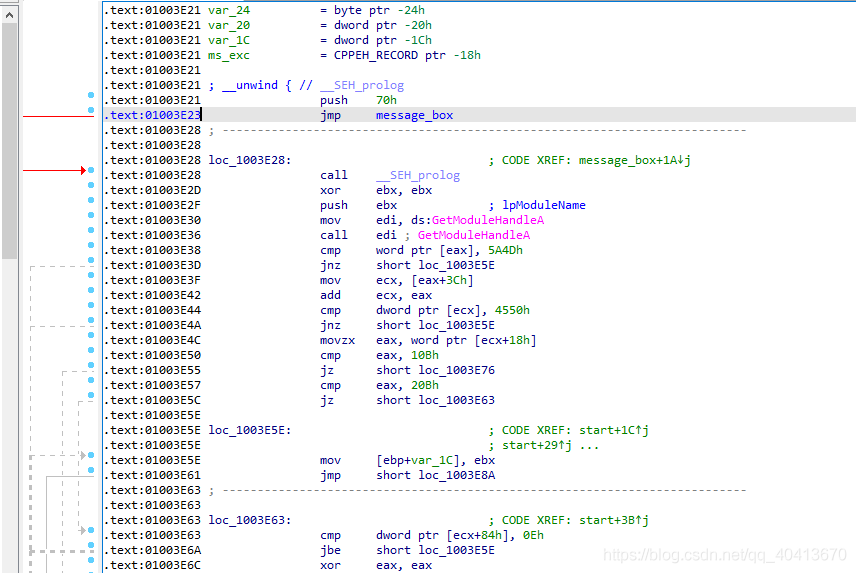
Press Ctrl + E to jump to the entry point. Select 01003E23, then modify this assembly code to jmp message_box.
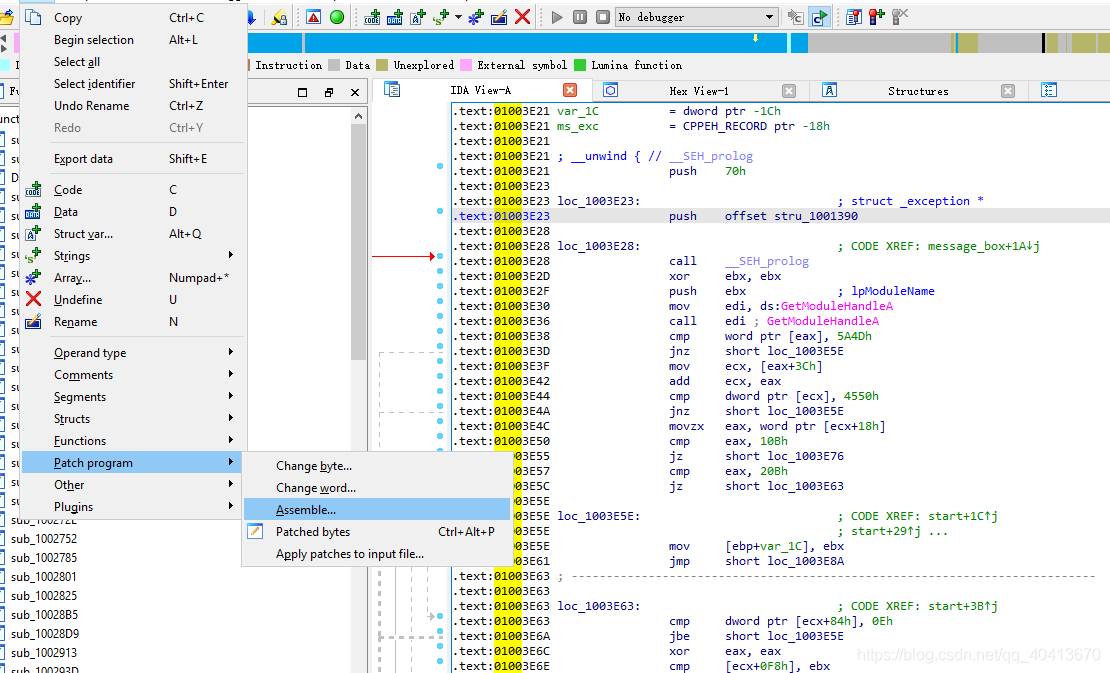
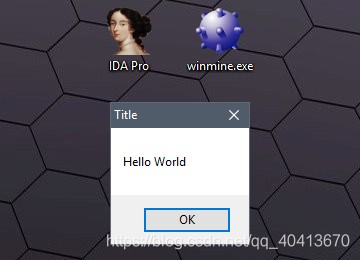
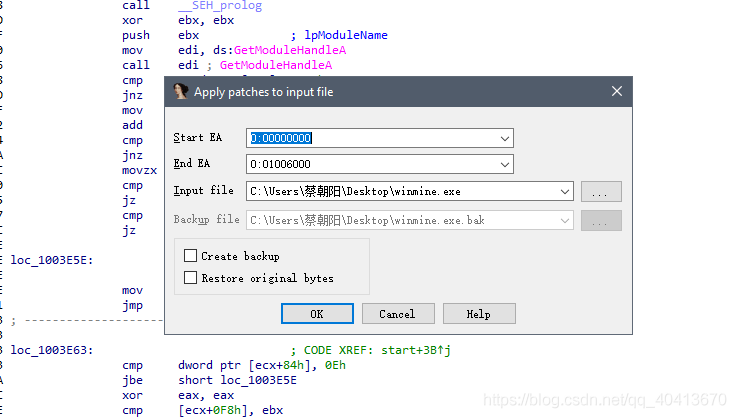
Now, the operation is complete. The idea is to execute our own code from the entry point, and then jump back to continue executing the original code. Now save the modifications to the source file Edit - Patch program - Apply patches to input file, select the file to inject, and whether to make a backup.
After saving, run the file to see the effect.